How to Create a Comprehensive 3D Floor Plan
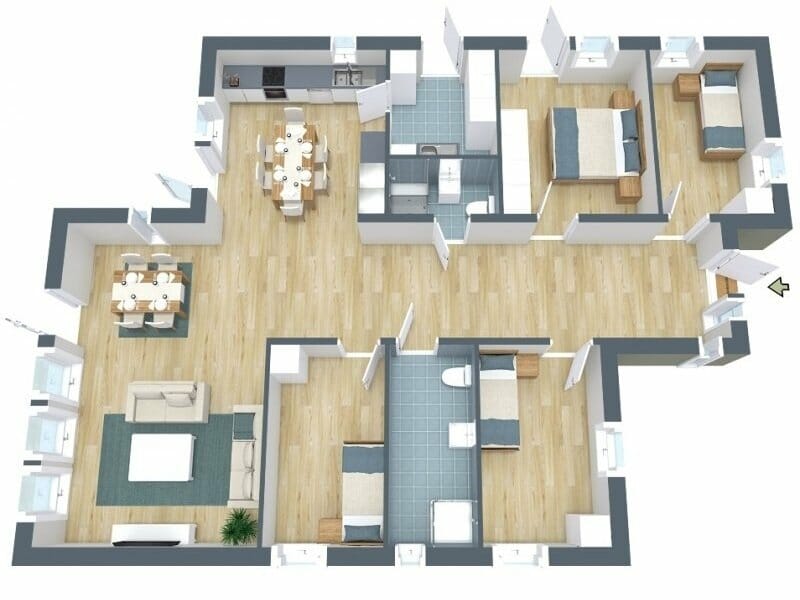
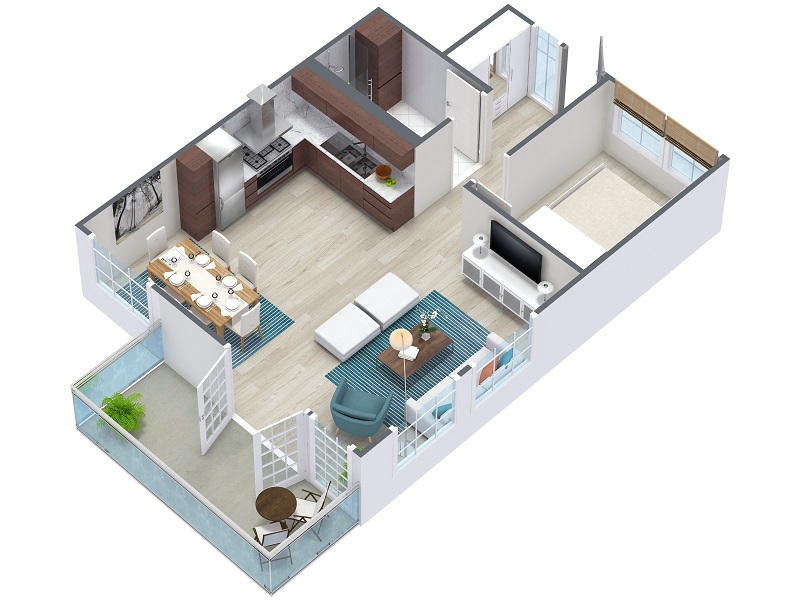
In today's era of advanced design and visualization, 3D floor plans have become indispensable tools for architects, interior designers, and homeowners alike. They offer an immersive and interactive representation of a space, allowing users to envision the layout, dimensions, and aesthetics before construction or renovation commences.
1. Determine the Scope and Purpose
Begin by defining the scope of your 3D floor plan. Consider its intended purpose, whether it's for planning a new construction, visualizing a remodel, or presenting a design to clients or stakeholders.
2. Gather Accurate Measurements
Precise measurements are crucial for creating a realistic 3D floor plan. Use a laser measuring tool or hire a professional to obtain accurate dimensions of the space, including wall lengths, window and door openings, and any architectural features.
3. Choose a 3D Floor Plan Software
Select a 3D floor plan software that aligns with your skill level and budget. There are both free and paid options available, ranging from beginner-friendly to professional-grade solutions. Consider features such as ease of use, available libraries, rendering options, and export capabilities.
4. Import Measurements and Create Walls
In your chosen software, import the measurements and start creating the foundation of your floor plan by drawing the walls. Use the software's tools to define wall thickness, height, and any openings such as doors and windows.
5. Add Architectural Features
Once the walls are in place, it's time to add architectural features that define the space. This includes stairs, columns, archways, fireplaces, and any other elements that contribute to the overall design.
6. Furnish and Decorate
The next step is to populate your floor plan with furniture and décor. Most 3D floor plan software offer libraries of pre-made objects, or you can import your own custom models. Arrange them to create a realistic and visually appealing representation of the space.
7. Apply Materials and Textures
To enhance realism, apply materials and textures to the surfaces in your floor plan. Choose flooring, wall coverings, countertops, and fabrics that match the desired design aesthetic. This will bring depth and character to your visualization.
8. Set Up Lighting
Proper lighting is essential for creating a realistic and immersive experience. Use the software's lighting tools to simulate natural or artificial light sources. Position lights strategically to highlight focal points and create atmosphere.
9. Finalize and Export
Once you are satisfied with your 3D floor plan, finalize the design and export it into a suitable format. Common export formats include JPG, PNG, PDF, and 3D model files (such as OBJ or DAE). Choose the format that best suits your intended use.
10. Review and Iterate
After exporting your floor plan, take a step back and review it critically. Are all the dimensions accurate? Does the design flow well? Are the materials and textures appropriate? Make adjustments as necessary to create a polished and professional-looking final product.
By following these steps, you can create comprehensive and engaging 3D floor plans that will enhance your design process and enable you to visualize and communicate your ideas more effectively.
3d Floor Plans

How Do You Make A 3d Floor Plan

3d Floor Plans

3d Floor Plans

3d Floor Plans

What Is 3d Floor Plan How To Make It Benefits Cost

3d Floor Plans

How To Make A Floor Plan And 3d S

How To Create 3d Floor Plans For Free

How To Make A Professional Design 3d Floor Plan In 2024


